
概要
自作のchromeアドオン開発時に、新しいタブを開いて操作することが必要なケースがありました。
簡単に実装できましたので、メモとして残します。
コード
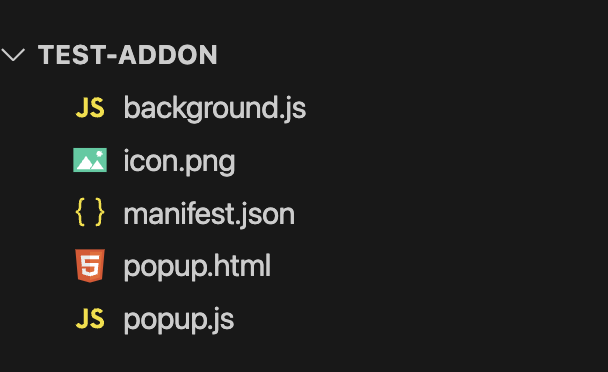
ディレクトリ構成
manifest.json
{
  "manifest_version": 3,
  "name": "My Chrome Extension",
  "version": "1.0",
  "permissions": ["tabs", "activeTab"],
  "background": {
    "service_worker": "background.js"
  },
  "action": {
    "default_popup": "popup.html",
    "default_icon": {
      "16": "icon16.png",
      "32": "icon32.png",
      "48": "icon48.png",
      "128": "icon128.png"
    }
  },
  "icons": {
    "16": "icon16.png",
    "32": "icon32.png",
    "48": "icon48.png",
    "128": "icon128.png"
  }
}
アイコンはサイズ毎に適当なものを用意してください。
5行目の”permissions”: [“tabs”, “activeTab”] はタブの制御に必要です。
popup.html
<!DOCTYPE html>
<html>
  <head>
    <title>Popup</title>
    <script src="popup.js"></script>
  </head>
  <body>
    <button id="openTabButton">Open Tab</button>
  </body>
</html>
popup.js
document.addEventListener("DOMContentLoaded", () => {
  const button = document.getElementById("openTabButton");
  if (button) {
    button.addEventListener("click", () => {
      chrome.runtime.sendMessage({
        action: "openPinnedTab",
        url: "https://www.google.com/",
      });
    });
  }
});
background.jsにメッセージパシングします。
background.js
chrome.runtime.onMessage.addListener((message, sender, sendResponse) => {
  if (message.action === "openPinnedTab") {
    //新規タブ展開(pinned: trueで固定タブになる)
    chrome.tabs.create({ url: message.url, pinned: true }, (newTab) => {
      //タブ展開後のアクション。新規タブにメッセージパシングも可能。
      console.log("New pinned tab opened:", newTab);
      sendResponse({ status: "success", tab: newTab });
    });
    return true;
  }
});
popupからメッセージを受け取って、新規タブでサイトを表示します。
※この事例ではpopupから渡されたurlのサイト(google.com)が開きます
4行目のpinned: trueで固定タブにしています。不要であればfalseにしてください。
参考
Chrome for Developers:chrome.tabs


コメント